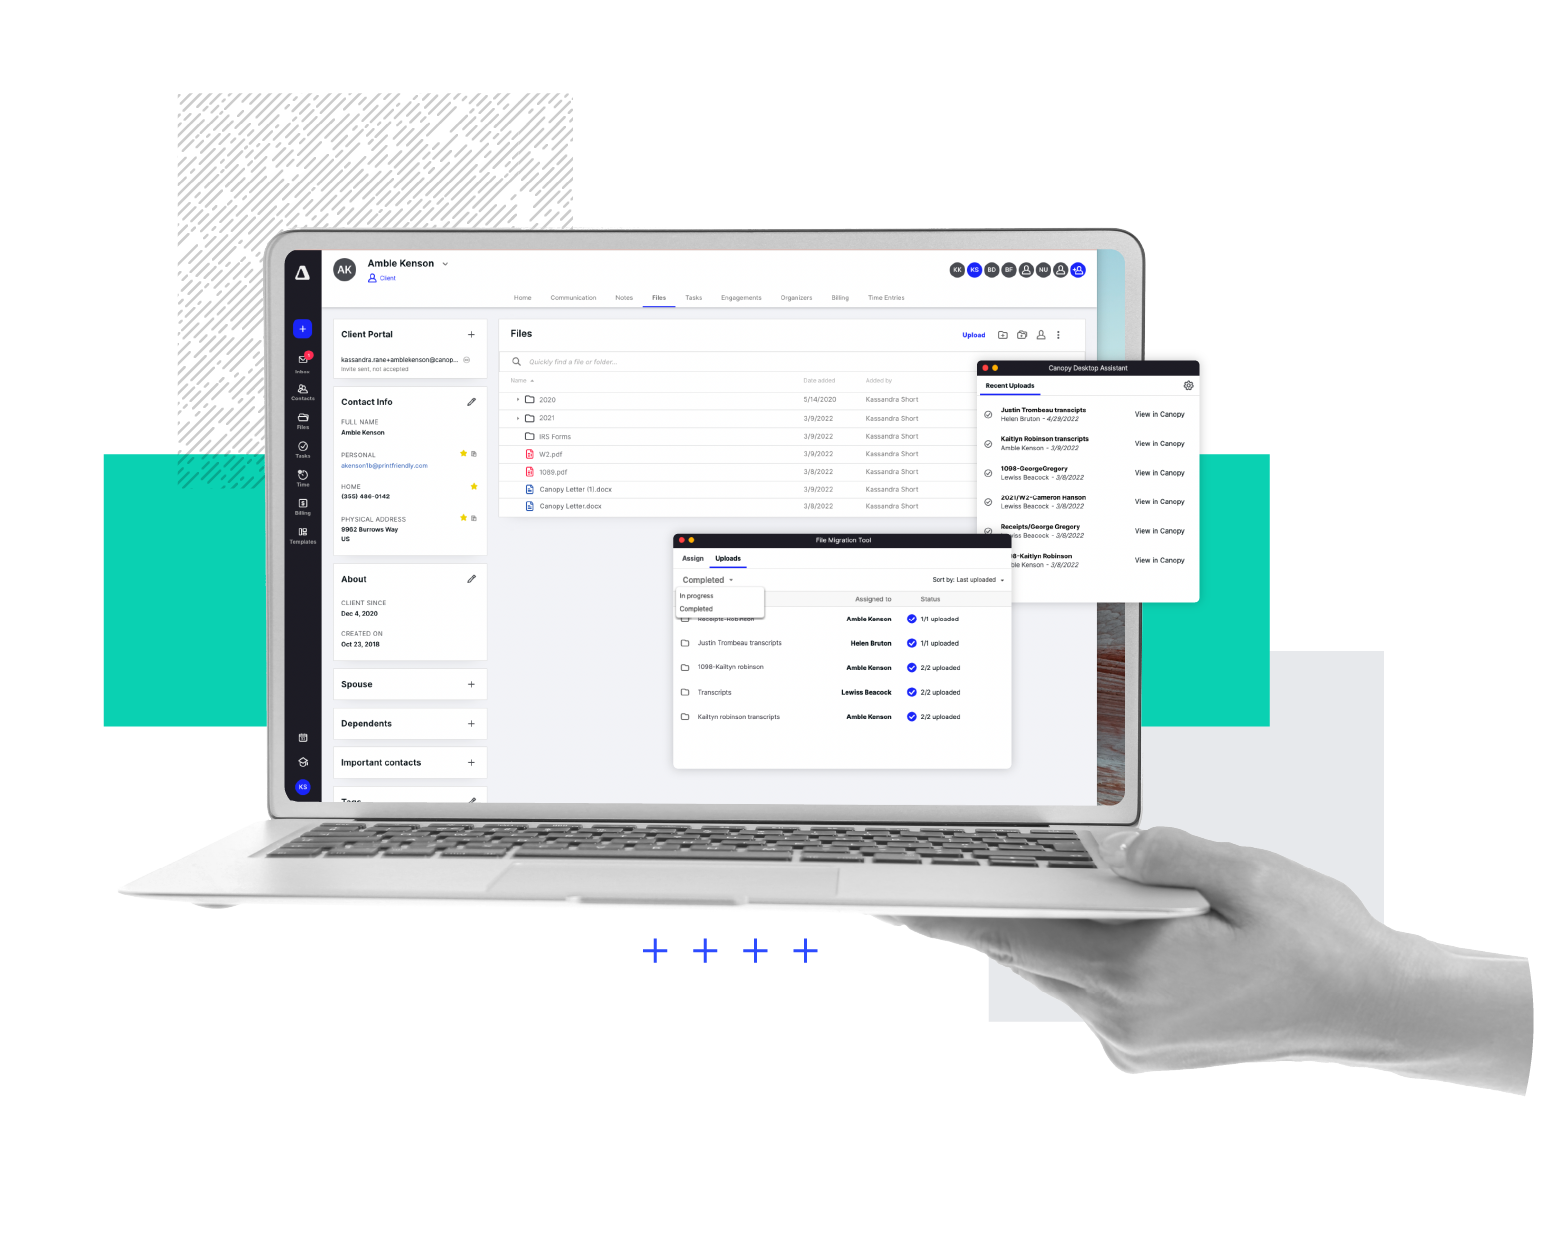
Efficiently transfer files and enhance document interaction. With Canopy, consider your desktop assisted.
Simplified document migration and interaction—available to both Windows and Mac users.
The Desktop Assistant can be easily downloaded inside of Canopy (or here on this page) and installed within minutes to your computer on both Windows and Mac devices.
It's super easy (and efficient!) to get important files and documents into Canopy. You can print documents directly to a client's profile without having to navigate back and forth between your computer’s hard drive and Canopy. After downloading the Desktop Assistant, you can simply navigate to the print menu in any program that offers it and select Canopy to get the document into Canopy.
Hopefully your days of scanning physical documents are past, but—if one of your clients still likes to drop off their annual stack of papers—we've got you covered. With the Desktop Assistant, you can have them scan directly into Canopy to make it easy to digitally organize, store, and access them in the future.
Upload complete contact folders to Canopy without having to compress anything into a ZIP file. Smart matching saves you time by matching folders uploaded to contacts already in Canopy. Bulk upload as many contact folders as you need while still getting the rest of your work done, uninterrupted. Find our step by step guide to file migration here.
Need to make edits on a document that's stored in Canopy? The Desktop Assistant makes it possible for you to do just that, right in Canopy, bridging the gap between Canopy cloud and your non-cloud files. For a more in-depth description, check out this article.
“Canopy is our new best friend! We switched from Office Tools to Canopy over 2 years ago. The implementation and data transfer was almost seamless.”
Ronda B.
/ Capterra Review
Can’t find the answer you are looking for? Reach out to our support team.
The file edit is initiated in Canopy. Then, in Canopy Desktop Assistant, the file becomes locked so that others can't edit. Once you save your changes you simply click "Sync to Canopy." The file becomes unlocked and the changes will be visible in Canopy. Check out this article for more help with Desktop Assistant.
When files are being edited, they become locked inside the app so that other team members cannot edit. We're anti-too-many-cooks-in-the-proverbial-kitchen (at once, at least).
In the Desktop Assistant, you can easily search for the client you want to assign the folder or file to, but we also try our best to guess using smart matching.
Document Management. That's it. That's the FAQ answer.
File Type: .bmp .csv .doc .docx .emf .eml .heic .htm .html .jp2 .jpeg .jpg .mkv .mov .mp4 .msg .ods .odt .png .ppt .pptx .rtf .tif .tiff .txt .wmv .xls .xlsm .xlsx .xod .xps
Max File Size: 4.999342 GB
No limits or hidden fees. Woohoo!
Canopy Virtual Drive (CVD) and Canopy Desktop Assistant (CDA) are separate tools. CDA is an app for printing and scanning files to Canopy’s cloud storage. CVD installs as a drive on your computer, allowing constant file visibility and easy organization. CDA supports file migration and editing within Canopy, while CVD enables file editing on your computer. CVD offers a more intuitive way to interact with files, but CDA’s printing, scanning, and migration features remain valuable.
Submit this form, and we will be in touch soon to give you a custom demo.
Set a time for one of our product specialists to give you a guided tour practice.